Milestone Inspection
Milestone inspections are crucial for completing milestones and are categorized into three stages:
- Pre-Inspection
- During-Inspection
- Post-Inspection
Ways to Create Inspections:
- From the Milestone Details Page.
- Through the mobile application
Creating an Inspection (From the Milestone Details Page)
1. Click on the project name in the left menu to display project-related information.
2. Locate and click on the milestone name to navigate to the Milestone Details page.
3. On the Milestone Details page, select the Inspection tab.
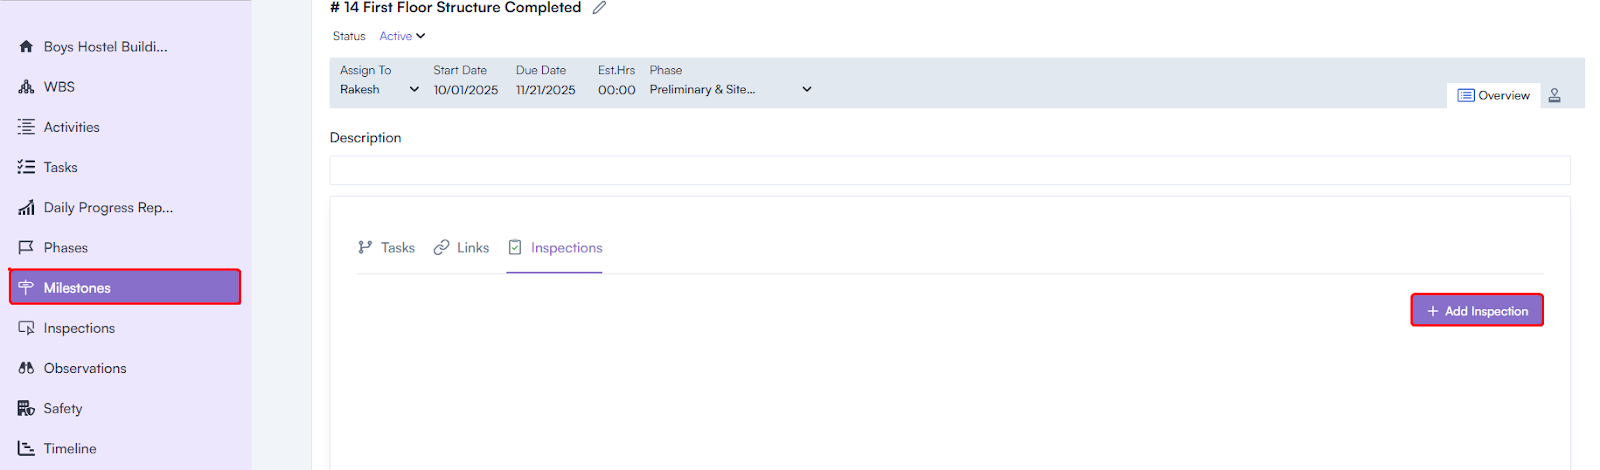
4. Click on the Create Inspection button.
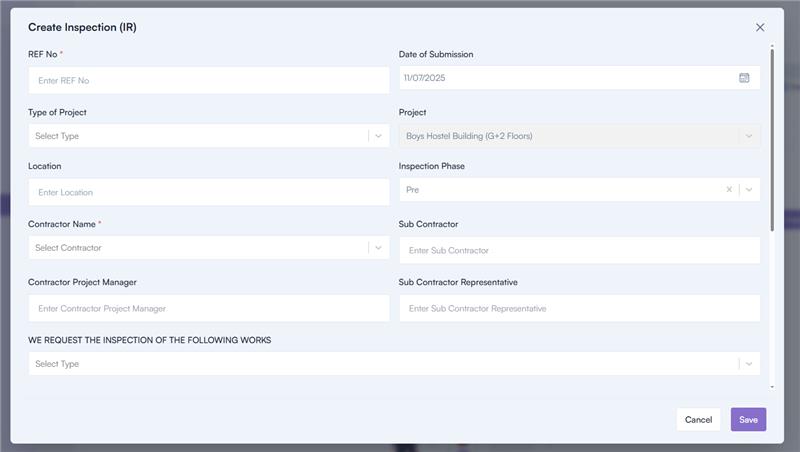
5. Fill in the required details in the Create Inspection pop-up:
- Inspection Title*
- Program (auto-selected)
- Project (auto-selected)
- Phase (auto-selected)
- Milestone (auto-selected)
- Inspection Phase (select from the dropdown: Pre, During, Post)
- Type
- User Group
- Assign To
- Start Date
- End Date
6. Save the inspection by clicking the Save button.
Checklist Association for Inspections
- After creating an inspection, the milestone owner must associate a checklist for each inspection stage.
Creating a Checklist
1. Log in and Navigate to Company Settings:
- Log in to the application.
- Go to the header and click on the Settings icon.
- Select Company Settings.
- In the left menu, go to Construction > Checklist.
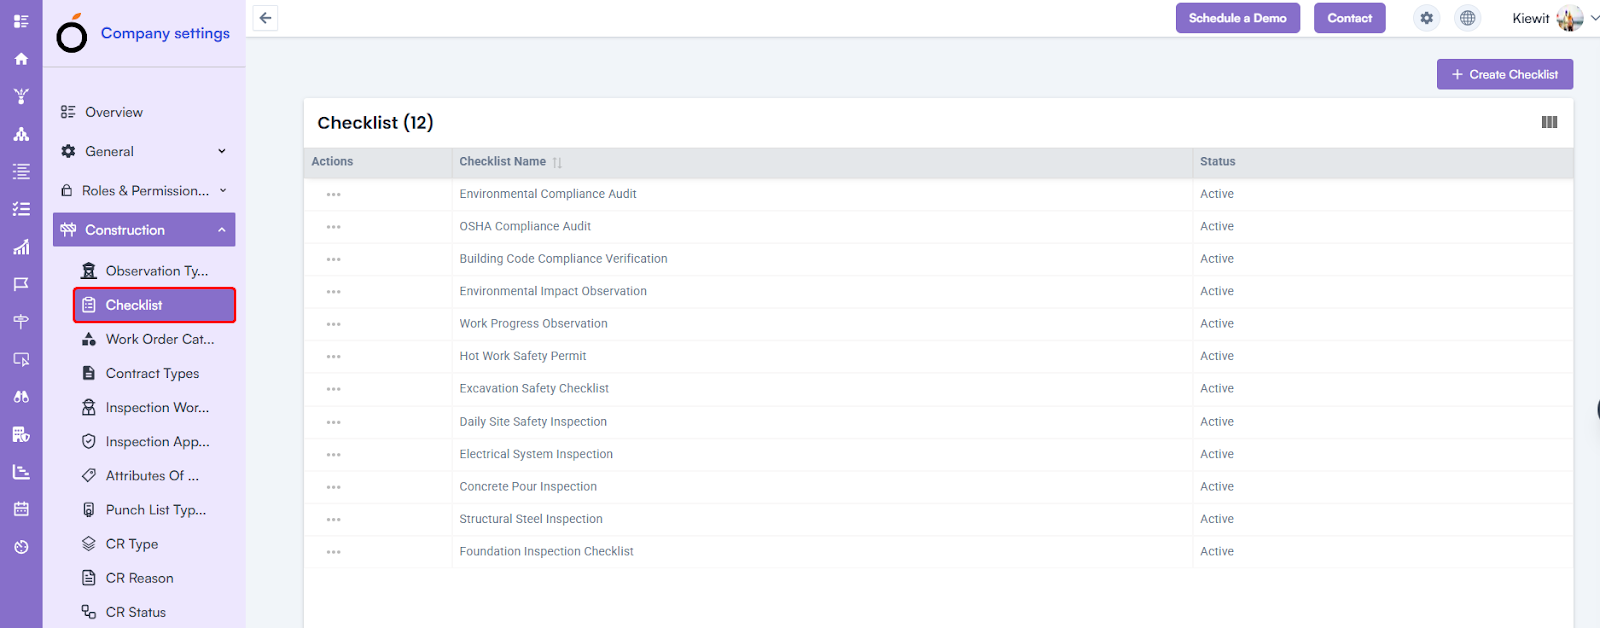
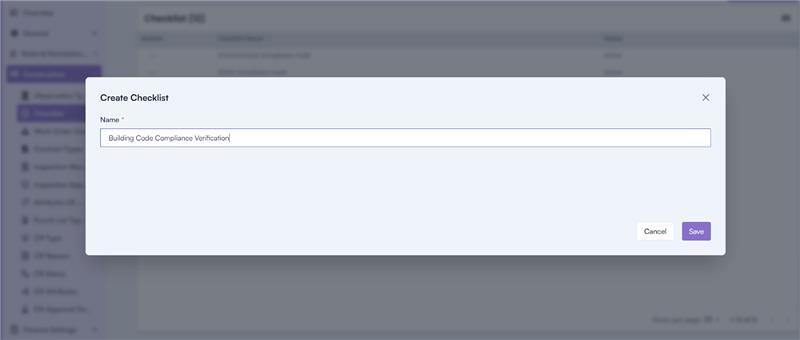
2. Create Checklist:
- Click on the Create Checklist button.
- Enter the checklist name.
- Save the checklist by clicking the Save button.
Creating Checklist Line Items
1. After creating a checklist, you need to add line items.
2. Navigate to the Checklist Section:
- Log in and go to Settings > Company Settings.
- In the left menu, navigate to Construction > Checklist.
- Click on a checklist name.
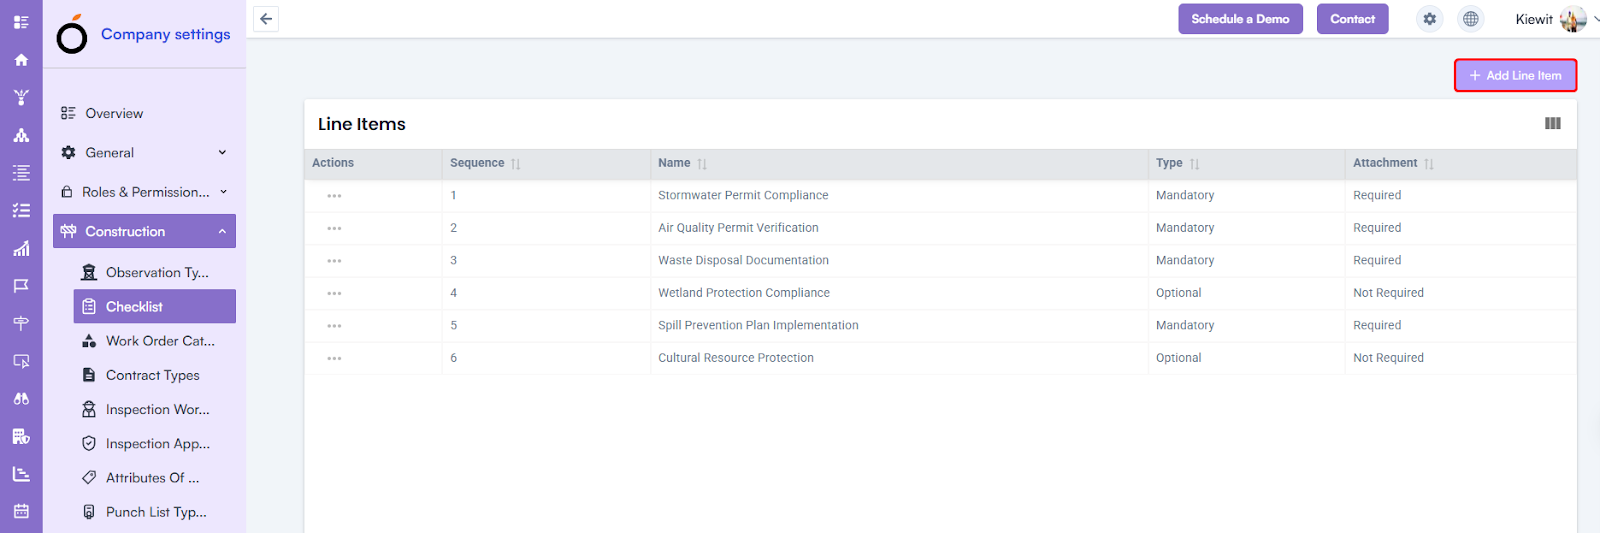
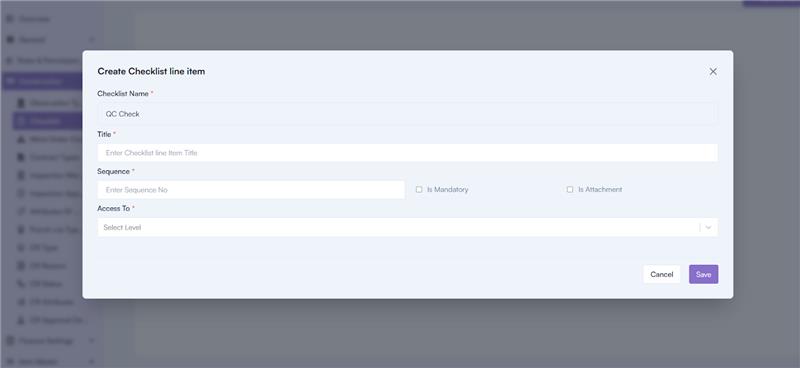
3. Add Line Items:
- In the top-right section, click on the Add Line Item button.
- Fill in the required details:
- Checklist Name*
- Checklist Line Item*
- Sequence*
- Is Mandatory
- Is Attachment
4. Save the line item by clicking the Save button.
Associating a Checklist with an Inspection
1. Navigate to the Inspection Details Page by clicking on the inspection name.
2. On the Inspection Details Page, you’ll find three tabs:
-
- Checklist
- Activity
- Answers
3. Go to the Checklist tab.
4. Click on the Add Checklist button.
5. In the Select Checklist pop-up:
- Select a checklist from the dropdown.
- Save by clicking the Save button.
Answers Submission
Once the inspection process is completed, the submitted answers will appear in the Answers tab in PDF format.
Steps to View Answers:
- Navigate to the Inspection Details Page.
- Select the Answers tab.
- Review the submitted answers in PDF format.
Creating an Inspection (Through the Mobile Application)
Inspections can also be created using the mobile application.
Inspection Creation Process
1. Log in to the Mobile Application:
- Use your email and password to log in.
2. Navigate to the Inspection Creation Section:
- In the footer section, click on the New Actions icon.
- Select Start Inspection.
3. Fill in the Inspection Details:
- Inspection Name
- Select Project
- Select the Phase (Pre, During, Post)
- Assign To
- Select Milestone
- Select Start Date
- Select Due Date
- Select Checklist
4. Log the Inspection:
- Click on the Log Inspection button to create the inspection.
Submitting Inspection Answers Through the Mobile Application
Once the inspection is created, the assigned user will receive a push notification on their mobile application.
1. Access the Inspection Listing Page:
- Click on the push notification to navigate to the Inspection Listing Page, where a list of inspections will be displayed.
2. Perform the Inspection:
- The assigned user will see a list of checklist line items set by the milestone owner.
3. The user can perform the inspection in real-time by:
- Submitting answers to checklist items.
- Uploading attachments.
- Adding their signature.
4. Inspection Status Notification:
- Upon submission, the milestone owner is notified about the inspection status:
- Accepted
- Rejected
5. Restarting an Inspection:
- If the inspection is rejected, the contractor can restart the inspection process.